
Mastering the art of photography at home can feel like trying to tame a wild cat—exciting yet a bit unpredictable. One moment you’re capturing a stunning shot, and the next, your lighting turns your masterpiece into a shadowy mess. Fear not! With the right lighting techniques, anyone can transform their living room into a mini photo studio without needing a degree in astrophysics or a loan for fancy equipment.
Whether it’s natural light streaming through your window or a strategically placed lamp, understanding how to manipulate light can elevate your photos from “meh” to “wow.” Let’s dive into the world of home lighting and discover how to make your photos shine brighter than your neighbor’s holiday lights—without the risk of a fire hazard! Get ready to illuminate your creativity and capture those picture-perfect moments like a pro.
Understanding Lighting for Photography at Home
Lighting plays a crucial role in photography, especially in a home setting. Mastering different lighting techniques can significantly enhance photo quality.
Importance of Proper Lighting
Proper lighting affects the mood, clarity, and detail in photographs. Natural light, for example, provides a soft, even brightness that enhances colors. Notably, using the golden hour, which occurs shortly after sunrise or before sunset, yields flattering tones. Conversely, harsh lighting can create unflattering shadows and highlights. It’s essential to balance light sources to avoid distractions. Overall, proper lighting elevates images, making them more appealing and professional.
Types of Lighting Sources
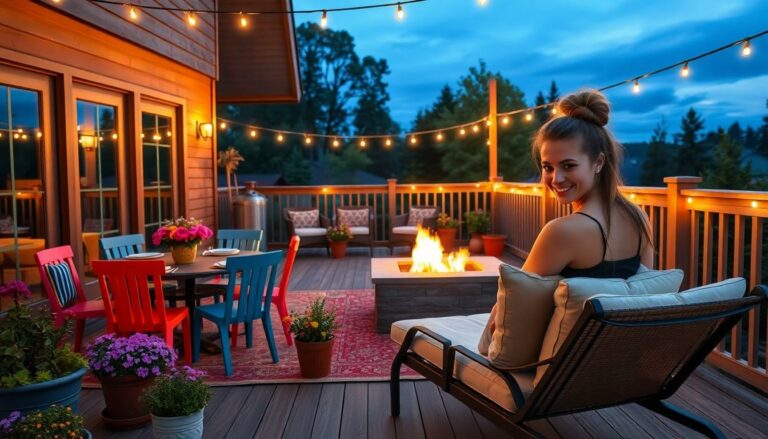
Photography at home can utilize various lighting sources. Natural light remains a favorite due to its accessibility and quality. Softies like sheer curtains can diffuse sunlight, creating gentle shadows. Artificial lights, such as LED lamps or softboxes, offer complete control over brightness and direction. Using three-point lighting can improve depth and dimension in scenes. Flash lights are also beneficial for capturing fast action or adding fill light. Each source has unique characteristics, contributing to the overall effect in photography.
Natural Lighting Techniques

Natural lighting plays a key role in home photography, greatly influencing the appeal of images. Techniques for utilizing daylight can enhance a photographer’s skills.
Utilizing Daylight
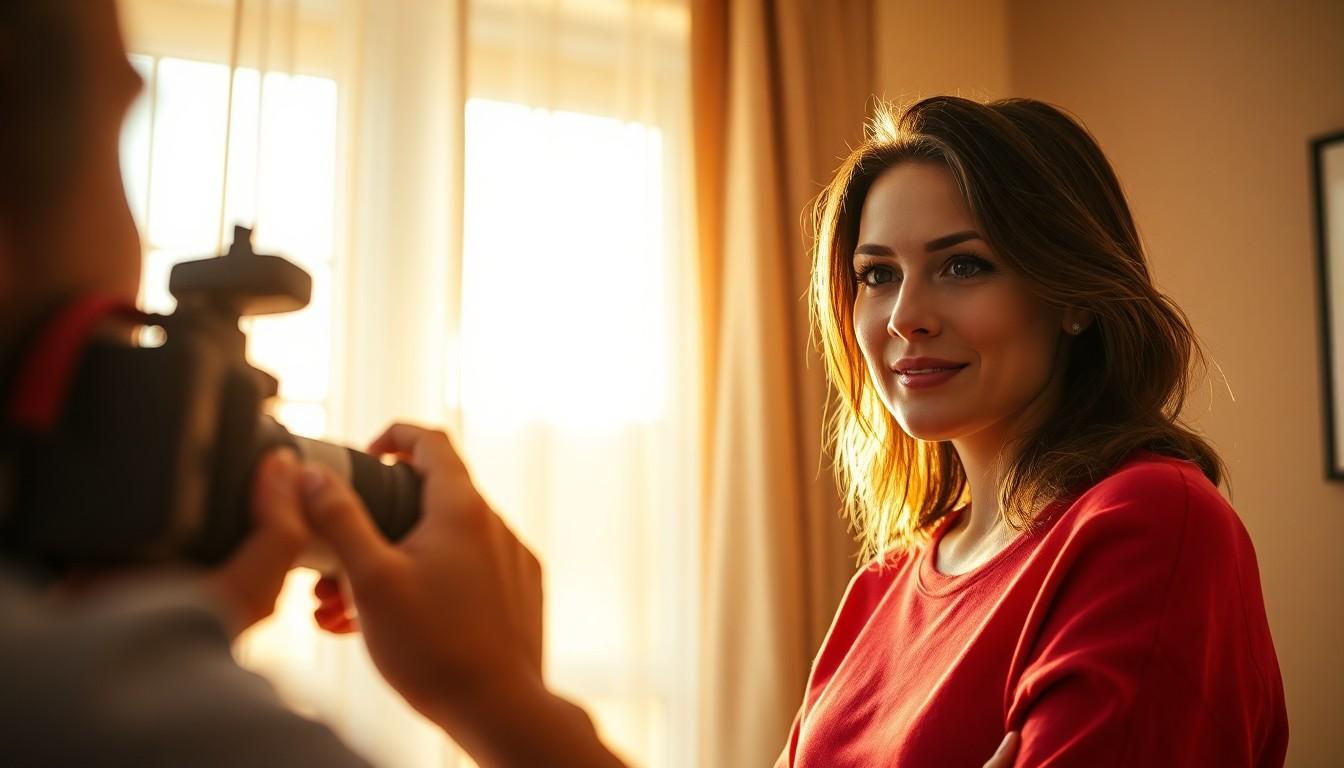
Daylight serves as an excellent source of natural light for photography. It offers a soft, diffused quality, especially when filtered through sheer curtains. Positioning subjects near windows can optimize light direction and intensity. Natural light adds warmth, contributing to more vibrant colors in images. Reflections from light-colored walls or surfaces can further brighten the scene. Adjusting the subject’s angle concerning the light enhances texture and depth. Utilizing reflectors can also boost light on the subject, ensuring details remain visible.
Timing for Best Results
Golden hour is the best time for photography, providing ideal lighting conditions. This occurs shortly after sunrise or before sunset, offering warm, soft light. During these times, shadows become less harsh, resulting in a more flattering portrayal of subjects. Midday sun, although bright, often creates stark shadows that can detract from the overall image quality. Early morning light tends to be more forgiving, while late afternoon light offers rich hues. Planning outdoor shoots around these times maximizes natural light’s positive effects.
Artificial Lighting Solutions
Artificial lighting plays a significant role in enhancing photography at home. Various options exist that help create the perfect atmosphere for images.
Continuous Lighting Options
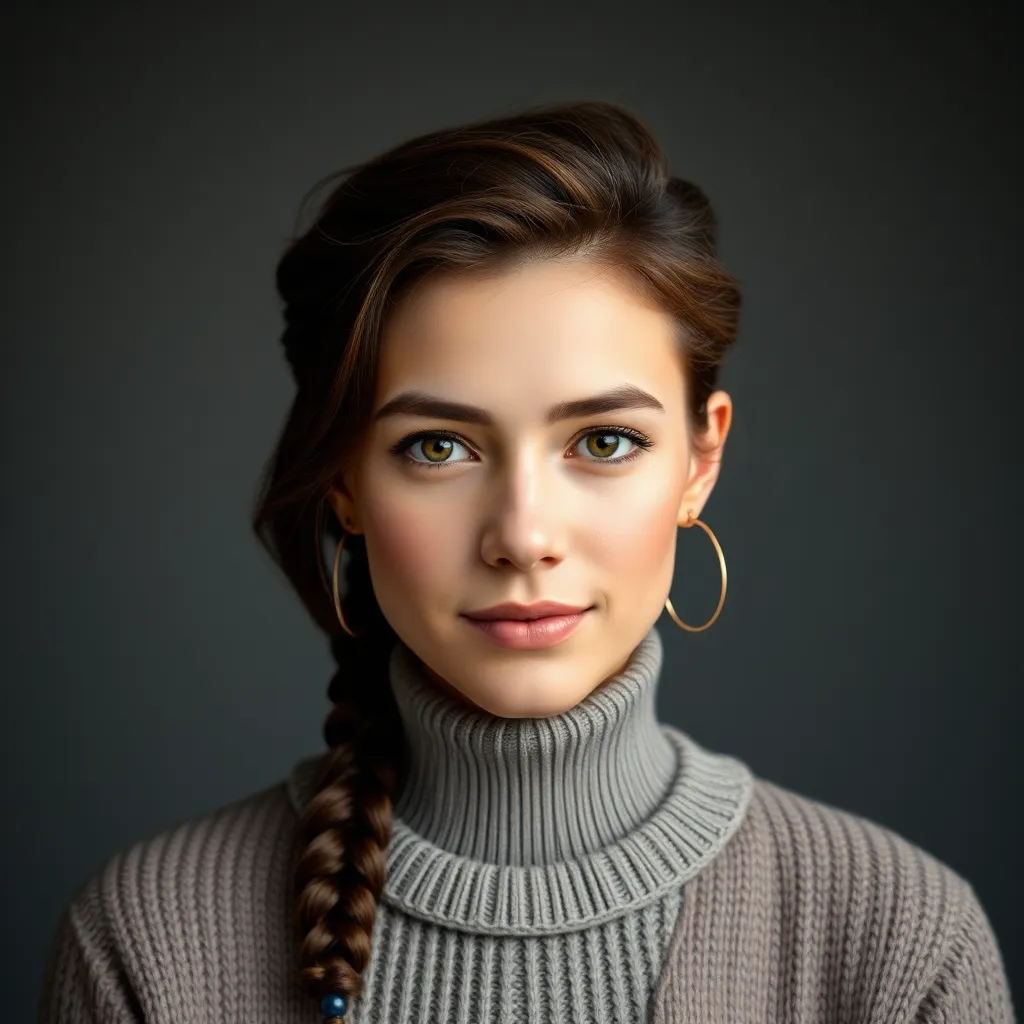
Continuous lighting options provide consistent illumination, making them ideal for capturing photos. LED lamps stand out for their energy efficiency and adjustable brightness levels. Softboxes diffuse light, minimizing harsh shadows and delivering even lighting across subjects. Ring lights excel at illuminating faces, making them perfect for beauty and portrait photography. These options allow photographers to shape and control light effectively, creating a mini studio environment at home.
Flash and Strobe Lighting
Flash and strobe lighting create dramatic effects, ideal for freezing action and adding depth. Speedlights are portable flashes that can be mounted on cameras or used off-camera for flexibility. They produce a burst of light, allowing photographers to capture fast-moving subjects with clarity. Studio strobes offer more power and versatility, perfect for professional setups. Both options enable creative lighting setups, allowing for experimentation with angles and shadows.
DIY Lighting Setups
Creating effective lighting setups at home significantly enhances photography. Various techniques and items available help photographers achieve professional results.
Using Household Items
Common household items serve as excellent lighting solutions. A white bedsheet can act as a diffuser, softening harsh light. Additionally, using a lamp with adjustable intensity provides control over brightness. Reflective materials, such as aluminum foil or mirrors, can redirect light to illuminate subjects. Positioning a table lamp at an angle enhances mood and reduces shadowing. Lastly, window curtains can filter sunlight, offering a more flattering glow during shoots.
Budget-Friendly Accessories
Affordable accessories further improve lighting setups without overspending. Softbox kits, generally available online, provide soft, even lighting ideal for portraits. Light stands often accompany these kits and offer stability. Using light bulbs specifically designed for photography can make a considerable difference in tone and quality. An inexpensive ring light creates enchanting catchlights in subjects’ eyes, enhancing portraiture. Finally, building a DIY reflector out of foam board is a simple solution that adds versatility to any setup.
Creative Lighting Techniques
Creative lighting techniques enhance photography at home. Utilizing shadows and mood can transform a basic image into a striking visual.
Experimenting with Shadows
Shadows add depth and dimension to photographs. They create contrast, emphasizing the subject’s features and textures. Photographers can play with light placement; moving the light source alters shadow intensity and direction. Low angles yield longer shadows, while overhead lighting produces minimal shadow. Using different materials, like sheer fabrics or textured surfaces, modifies shadows for artistic effects. For example, a plant with intricate leaves can cast interesting shadows when lit from the side. This experimentation invites creativity, allowing for captivating compositions.
Creating Mood and Atmosphere
Mood significantly impacts emotional responses in photographs. Different lighting styles evoke distinct feelings; soft, diffused light generates warmth and tranquility, while harsh lighting may induce tension. Color temperature also plays a role; warm tones create cozy atmospheres, while cooler tones suggest calmness or detachment. Photographers can achieve this by adjusting light sources or adding gels for color washes. For instance, using amber gels transforms daylight into a sunset hue. This thoughtful approach to lighting transforms an image’s narrative, engaging viewers on a deeper level.