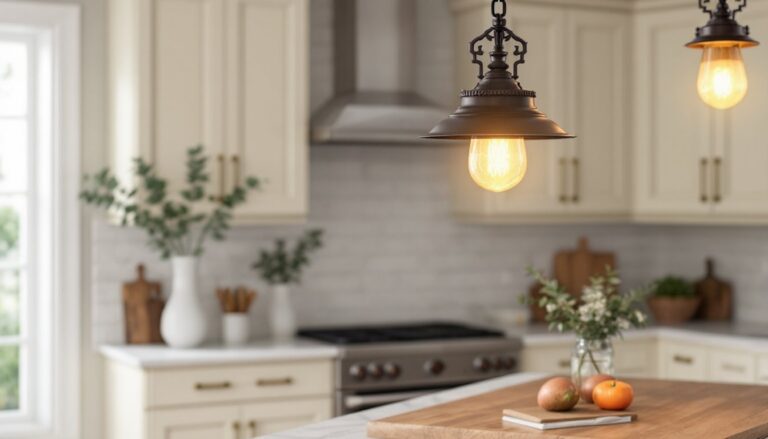

Recessed lighting transforms a room without taking up visual space. Unlike pendant fixtures or chandeliers that hang from the ceiling, recessed lights sit flush, creating clean lines and directing light exactly where it’s needed. They’re a go-to choice for modern kitchens, bathrooms, and living areas, but only if they’re planned and installed correctly. This guide covers the essentials: types of recessed fixtures, layout planning, and what homeowners should expect when adding recessed lighting to their ceilings. Whether upgrading outdated fixtures or building new, understanding the options helps avoid costly mistakes.
Table of Contents
ToggleKey Takeaways
- Recessed lighting provides a streamlined, space-saving solution for modern rooms, especially kitchens and bathrooms, while offering ambient, task, or accent lighting without cluttering the ceiling.
- LED recessed fixtures cut energy use by up to 75% compared to older incandescent models, making them an efficient choice for both new installations and retrofits.
- Proper layout planning—using the spacing rule of half the ceiling height apart (roughly 4 feet for 8-foot ceilings)—ensures even illumination and prevents dark corners or harsh glare.
- Choose the right fixture type for your project: can lights for flexibility, wafer lights for retrofit projects with limited clearance, or integrated LED fixtures for maximum efficiency.
- IC-rated housings are mandatory in insulated attics to prevent overheating, and moisture-rated trim is essential in bathrooms and wet areas to ensure code compliance and safety.
- Professional installation for a typical 6-10 light project runs $600–$1,500, while DIY retrofit kits offer a budget-friendly alternative for those with basic electrical skills.
What Is Recessed Lighting and Why Choose It?
Recessed lighting, often called can lights or downlights, consists of fixtures installed into hollow openings in the ceiling. The light housing sits above the ceiling line, with only the trim and bulb visible from below. The result is streamlined illumination that doesn’t interrupt sightlines or compete with décor.
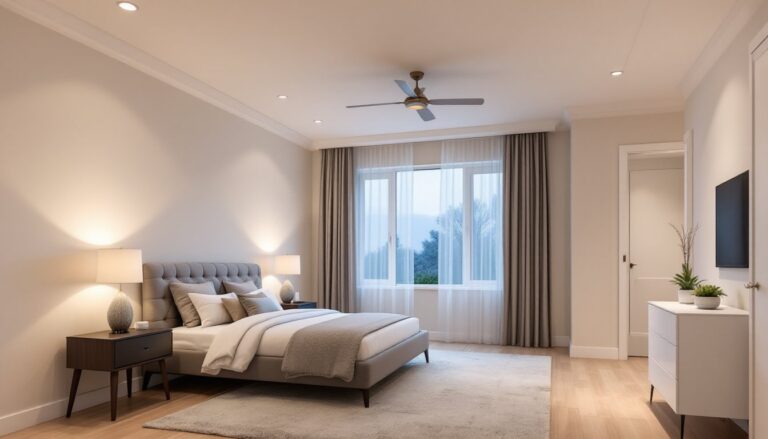
Homeowners choose recessed lighting for several practical reasons. It provides ambient, task, or accent lighting without cluttering the ceiling. In rooms with low ceilings (under 8 feet), recessed fixtures prevent the head-bumping risk of hanging lights. They also work well in spaces where a traditional fixture would look out of place, think hallways, closets, or above kitchen islands.
Another advantage is flexibility. Recessed lights can be installed almost anywhere there’s ceiling access, and many newer models feature adjustable trims or directional bulbs to spotlight artwork, countertops, or architectural details. LED recessed fixtures have pushed efficiency even further, cutting energy use by up to 75% compared to older incandescent cans.
That said, recessed lighting isn’t always the best choice. Installing them in existing ceilings requires cutting into drywall and running electrical, which can be messy and time-consuming. In uninsulated attics or cathedral ceilings, improper installation can create air leaks and energy loss. Homeowners in older homes should also confirm whether ceiling joists, ductwork, or existing wiring will interfere with placement.
Types of Recessed Ceiling Lights
Not all recessed lights are created equal. The fixture type affects installation complexity, energy efficiency, and light quality. Understanding the differences helps match the right fixture to the job.
Can Lights vs. Trim Lights
Can lights use a separate housing (the “can”) installed in the ceiling cavity, paired with interchangeable trims and bulbs. The housing is typically IC-rated (insulation contact) or non-IC. IC-rated housings can touch insulation safely, crucial in insulated attic spaces. Non-IC cans must remain at least three inches from insulation to prevent overheating, a code requirement that often gets overlooked during retrofit installations.
Traditional can lights offer flexibility. Homeowners can swap trims (baffle, reflector, eyeball, or shower-rated) and bulbs (BR30, PAR20, etc.) to change the look or light output. But, they require more ceiling depth, usually 6 to 8 inches, and air can leak around the housing if it’s not airtight-rated.
Wafer or ultra-thin recessed lights skip the bulky can entirely. These low-profile LED fixtures measure as little as half an inch thick and mount directly to the ceiling with spring clips. They’re ideal for retrofit projects or ceilings with limited clearance, such as below a second floor with shallow joist bays. Most wafer lights come as a sealed unit, bulb and trim integrated, so when the LED eventually fails (often after 20,000–50,000 hours), the entire fixture gets replaced. This trade-off bothers some DIYers, but the ease of installation and energy savings usually win out.
LED Recessed Lighting Options
LED retrofit kits convert existing can housings to LED without replacing the entire fixture. A homeowner simply removes the old trim and bulb, then installs a new LED module that screws into the existing socket and clips into place. Retrofit kits are budget-friendly and cut installation time to minutes per light. Many include features like dimming compatibility, selectable color temperature (2700K warm white to 5000K daylight), or smart-home integration.
Integrated LED fixtures combine the housing, driver, and light source into one unit. They’re more efficient than retrofit kits, no socket adapters or conversion losses, and many are Energy Star certified. But, they cost more upfront, and replacing a failed driver or LED array may require an electrician.
Color-selectable and smart LEDs add convenience. Some fixtures let users toggle between warm, neutral, and cool white tones via a switch on the fixture or a remote. Smart recessed lights connect to Wi-Fi or Bluetooth, allowing app-based control, scheduling, and dimming without a dedicated dimmer switch. These work well in multipurpose rooms where lighting needs shift throughout the day.
How to Plan Your Recessed Lighting Layout
Poorly planned recessed lighting creates dark corners or harsh glare. The goal is even, layered illumination that complements the room’s function.
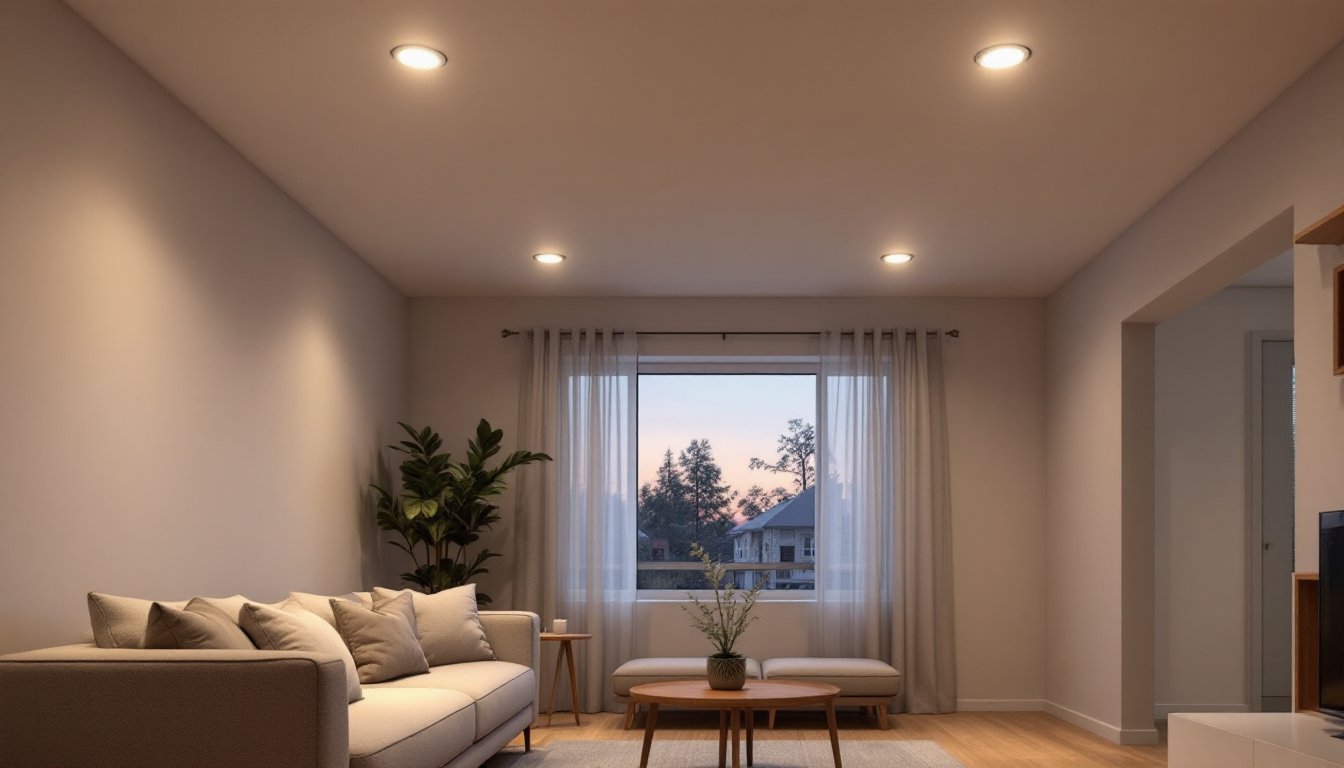
Start by determining the room’s purpose. Task lighting in a kitchen requires brighter, focused light over countertops and sinks. Ambient lighting in a living room calls for evenly spaced fixtures that wash the ceiling and walls. Accent lighting highlights artwork or architectural features with directional or eyeball trims.
A common layout rule is to space recessed lights approximately half the ceiling height apart. For an 8-foot ceiling, that’s roughly 4 feet between fixtures. Place lights 24 to 30 inches from walls to avoid shadows and create wall-washing effects. In kitchens, position lights 18 to 24 inches apart over countertops for adequate task lighting without gaps.
The number of fixtures depends on room size and desired light levels. A general guideline: multiply the room’s square footage by 1.5 to get total lumens needed, then divide by the lumens per fixture. For example, a 120-square-foot bedroom needs about 1,800 lumens. If each LED fixture outputs 600 lumens, plan for three lights minimum. Adjust up or down based on ceiling color (dark ceilings absorb more light) and natural light availability.
Dimmer switches add flexibility. Not all LED fixtures dim smoothly, some flicker or buzz, so check compatibility before purchasing. Look for bulbs or fixtures labeled “dimmable” and pair them with an LED-compatible dimmer, not an old incandescent-style rotary dial.
Before cutting any holes, homeowners should sketch the layout and mark joist locations with a stud finder. Ceiling joists typically run 16 inches on center, and recessed housings must fit between them. If a planned fixture lands on a joist, it’ll need to shift a few inches. In retrofit scenarios, this is where a shallow wafer light shines, it can squeeze into tighter spaces.
Permits may be required depending on local electrical codes. Most jurisdictions treat adding new circuits or extensive rewiring as permit-worthy work. Installing a few retrofit lights on an existing circuit usually doesn’t trigger a permit, but it’s wise to check with the local building department before starting.
Installation Considerations and Costs
Installing recessed lighting falls into two categories: new construction and retrofit. Each has different complexity and cost.
New construction is straightforward. With open ceilings, electricians or skilled DIYers can run wiring, secure housings between joists, and install trim before drywall goes up. New-construction housings include adjustable bars that span joists and nail directly to the framing. Expect professional installation to run $100 to $200 per fixture, including materials and labor, though prices vary by region and electrician rates.
Retrofit installations into finished ceilings are trickier. The installer cuts holes with a drywall saw or hole saw, fishes wire from an existing junction box or attic access, and secures the housing with built-in clips. Remodel housings clamp to the drywall from below, eliminating the need to access the joist from above. If there’s no attic access or the ceiling is a concrete slab, retrofit wafer lights become the only viable option, they mount directly through the drywall hole with no separate housing.
DIYers with basic electrical skills can handle retrofit installs, but working with live circuits requires caution. Always turn off power at the breaker and use a non-contact voltage tester before touching wires. Wear safety glasses when cutting drywall overhead, and use a dust mask if working near old insulation.
Common installation mistakes include overcrowding a circuit (most 15-amp bedroom circuits can handle 10 to 12 LED fixtures), failing to use IC-rated housings in insulated ceilings, and forgetting to install vapor barriers in bathrooms or high-humidity areas. Moisture-rated trim and housings (usually labeled “wet” or “damp”) are essential in showers and covered outdoor soffits.
Material costs vary widely. Basic non-IC new-construction cans start around $8 to $15 each, while IC-rated airtight housings run $20 to $40. LED retrofit kits range from $10 to $30 per fixture, and integrated LED wafer lights cost $15 to $50 depending on features. Smart-enabled or color-selectable models push prices to $40 to $80+.
For whole-home retrofits or rooms requiring significant rewiring, hiring a licensed electrician makes sense. Beyond ensuring code compliance, professionals carry liability insurance and can spot issues, like knob-and-tube wiring or overloaded panels, that DIYers might miss. Budget $600 to $1,500 for a typical living room or kitchen project (6 to 10 lights) when hiring out, including fixtures, wiring, switches, and labor.
Conclusion
Recessed lighting delivers modern, functional illumination without compromising ceiling space. Success depends on choosing the right fixture type, planning a thoughtful layout, and installing correctly, whether DIY or with professional help. Homeowners who invest time in planning avoid the frustration of uneven light, excess energy costs, or code violations. With LED efficiency and retrofit simplicity, there’s never been a better time to upgrade to recessed ceiling lights.