

A low voltage landscape lighting system transforms an outdoor space from invisible after dark to welcoming and secure. But none of those path lights, spotlights, or well lights will function without the right transformer stepping down household current to a safe 12 volts. Choosing the wrong size transformer leads to dim, flickering lights or a tripped breaker. Installing it incorrectly creates a safety hazard or code violation. This guide walks through everything a DIYer needs to know: what these transformers actually do, how to size them correctly, which features matter, how to install one safely, and how to troubleshoot when things go wrong.
Table of Contents
ToggleKey Takeaways
- A low voltage transformer for landscape lighting converts standard 120-volt household current to 12 volts, drastically reducing shock risk while enabling thinner, more flexible wire installation that complies with electrical codes.
- Size your low voltage transformer to 125-150% of total connected load to account for inrush current and allow future expansion without replacement.
- Key features to prioritize include digital or astronomical timers, photocell integration, multiple voltage taps for voltage drop compensation, stainless steel housing, and thermal breakers for automatic reset and durability.
- Proper installation requires mounting within 6 feet of a GFCI outlet, burying landscape wire at least 6 inches deep, and testing the system at night to identify dim spots or dead fixtures before backfilling trenches.
- Dim or flickering lights typically signal voltage drop from undersized wire or excessive run length, resolved by increasing wire gauge, switching to a higher voltage tap, or splitting the circuit into separate runs.
- A properly sized and installed transformer delivers years of reliable service with minimal maintenance, transforming outdoor spaces into secure and welcoming areas after dark.
What Is a Low Voltage Transformer and Why Your Landscape Needs One
A low voltage transformer converts standard 120-volt household current to 12 volts (or occasionally 15 volts), which powers most residential landscape lighting fixtures. This voltage reduction serves three purposes: it drastically reduces shock risk, allows thinner and more flexible wire runs, and complies with National Electrical Code (NEC) Article 411, which governs outdoor lighting installations.
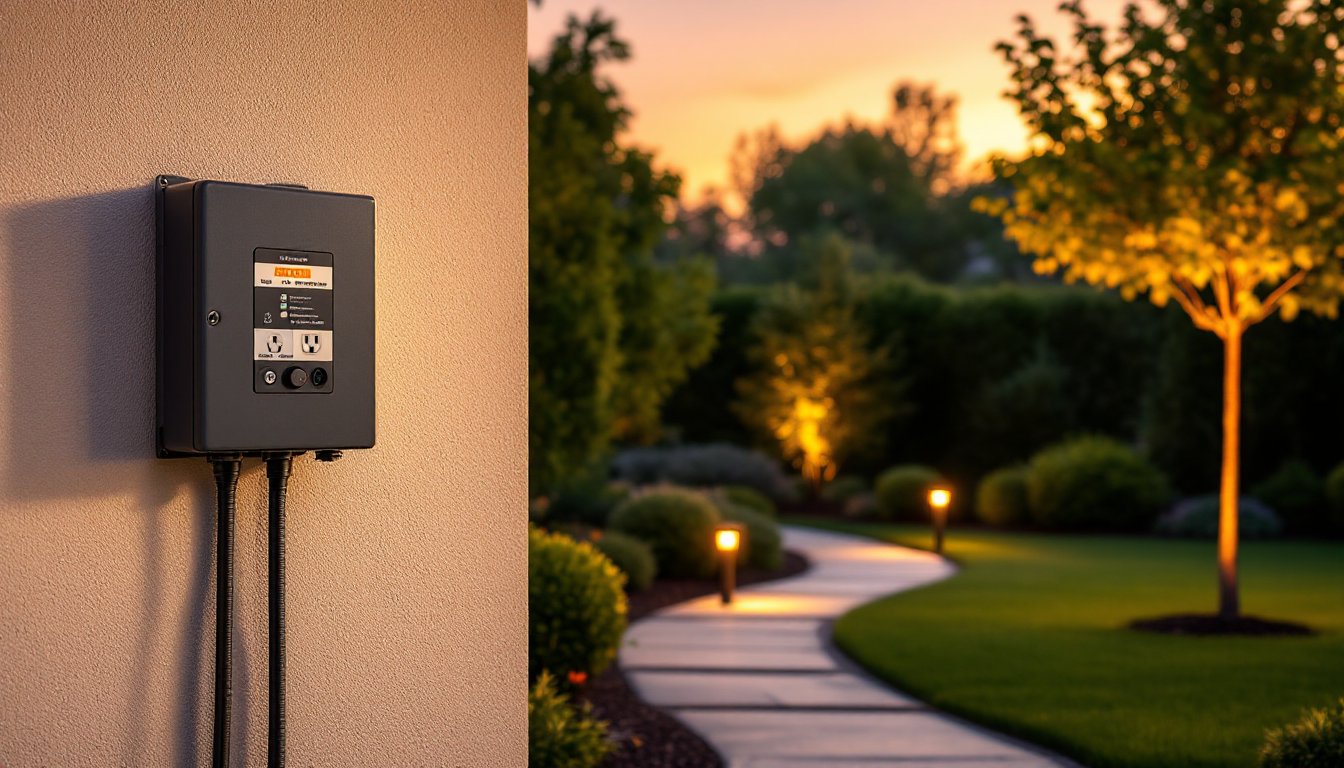
The transformer itself typically mounts on an exterior wall near a GFCI-protected outlet or connects directly to a junction box. Inside the weatherproof housing, a step-down coil reduces voltage while a built-in circuit breaker or fuse protects against overloads. Higher-end models include timers (mechanical or digital), photocells for dusk-to-dawn operation, and multiple taps that allow fine-tuning of output voltage to compensate for wire run voltage drop.
Without the transformer, a homeowner would need conduit, larger-gauge wire, and permits for what would become a line-voltage installation, essentially treating landscape lights like exterior building fixtures. The low voltage approach simplifies installation, reduces material costs, and keeps the project within DIY territory for most jurisdictions.
How to Choose the Right Transformer Size for Your Outdoor Lighting
Transformer capacity is measured in volt-amperes (VA) or watts. Common residential sizes range from 150W to 900W, with 300W and 600W being the most popular. Undersizing a transformer leads to brownouts and shortened bulb life: oversizing wastes money but causes no harm beyond the initial investment.
The golden rule: size the transformer for 125% to 150% of the total connected load. This headroom accounts for inrush current (the brief surge when bulbs first energize) and allows for future expansion without replacing the transformer.
Calculating Your Total Wattage Load
Start by listing every fixture in the planned system and its bulb wattage. An LED path light might draw 3-4 watts, while an LED spotlight could pull 7-12 watts. Halogen fixtures (less common now but still in use) consume significantly more, a 20-watt halogen is typical.
Multiply fixture count by wattage, then add all totals. For example:
- 10 path lights × 4W = 40W
- 6 spotlights × 10W = 60W
- 4 well lights × 8W = 32W
- Total connected load: 132W
Apply the 150% multiplier: 132W × 1.5 = 198W. A 300W transformer handles this comfortably and leaves room to add a few more fixtures later.
Wire gauge and run length also affect transformer selection. Longer runs and thinner wire (14 AWG vs. 12 AWG) cause voltage drop, which can require stepping up to a higher voltage tap or a larger transformer to maintain proper brightness at distant fixtures. Most manufacturers provide voltage drop charts in their documentation.
Key Features to Look for in a Quality Landscape Lighting Transformer
Not all transformers are created equal. A basic mechanical timer model from a big-box store will power lights, but may lack the durability and features that simplify long-term use.
Timer type matters. Mechanical timers (rotating dial with pins) are simple and affordable but lose accuracy over time and reset during power outages. Digital timers offer multiple on/off programs, seasonal adjustments, and battery backup to preserve settings. Astronomical timers adjust automatically for sunrise and sunset times throughout the year based on geographic location, ideal for set-and-forget operation.
Photocell integration allows the transformer to sense ambient light and activate only after dark, overriding the timer during daylight hours. This prevents lights from running unnecessarily if someone forgets to adjust the timer seasonally.
Multiple voltage taps (usually 12V, 13V, 14V, 15V) let the installer compensate for voltage drop on longer wire runs. Boosting output to 14V or 15V at the transformer ensures fixtures 100 feet away still receive close to 12V.
Stainless steel or powder-coated aluminum housing resists corrosion far better than painted steel. Check the IP (Ingress Protection) rating, IP65 or higher means the unit is dust-tight and protected against water jets, suitable for exposed mounting in any climate.
Expandability is worth considering. Some transformers offer multiple output terminals (commons) that allow separate control of different lighting zones, or toroidal cores that run cooler and quieter than traditional laminated cores.
A built-in circuit breaker is standard, but look for a thermal breaker rather than a simple fuse. Thermal breakers reset automatically once the fault clears and don’t require replacement parts.
Step-by-Step Installation Guide for Low Voltage Transformers
Before starting, verify local code requirements. Most jurisdictions treat low voltage lighting as a permit-exempt project, but the 120V supply feeding the transformer must be GFCI-protected and may require inspection if extending a circuit.
Tools and materials needed:
- Drill with masonry or wood bits (depending on siding)
- Screwdriver or nut driver
- Wire strippers
- Landscape lighting wire (12 AWG or 14 AWG, direct burial rated)
- Wire connectors (silicone-filled or heat-shrink recommended)
- Outdoor-rated staples or conduit clips
- Weatherproof cover plate if hardwiring
Step 1: Choose a mounting location within 6 feet of a GFCI outlet or junction box, at least 12 inches above grade to avoid splash and snow accumulation. Exterior garage walls near planting beds are common spots.
Step 2: If plugging into an existing outlet, simply mount the transformer bracket to the wall using the provided screws (use masonry anchors for brick or stucco). If hardwiring, turn off power at the breaker, remove the transformer’s plug, and run the supply wire through a weatherproof connector into a junction box or the transformer’s input housing, following manufacturer instructions.
Step 3: Connect the low voltage output wires. Most transformers have screw terminals or spring-loaded connectors labeled “COMMON” and “12V” (or 13V, 14V, 15V). Strip 3/8 inch of insulation from the landscape wire and secure it under the terminal. Polarity doesn’t matter for incandescent or most LED landscape fixtures, but check fixture documentation.
Step 4: Run the landscape lighting wire to fixtures. Bury it 6 inches deep minimum (NEC 411.6), though some codes allow surface mounting if the wire is rated for direct burial and unlikely to be damaged. Avoid running wire under driveways or areas subject to heavy equipment.
Step 5: Connect fixtures using waterproof connectors. Many fixtures use quick-connect piercing connectors that clamp onto the main wire without cutting it, which simplifies adding or moving lights later.
Step 6: Set the timer and test the system before backfilling wire trenches. Walk the full run after dark to check for dim spots or dead fixtures, which usually indicate poor connections or excessive voltage drop.
Safety notes: Always wear safety glasses when drilling into siding or masonry. If hardwiring, use a non-contact voltage tester to confirm power is off before touching any wires. Never exceed the transformer’s rated capacity.
Common Transformer Problems and How to Troubleshoot Them
Even a properly installed system can develop issues. Here’s how to diagnose the most common failures.
Lights won’t turn on: Check the obvious first, GFCI outlet tripped, breaker flipped, or timer set incorrectly. Use a multimeter to test for 12V output at the transformer terminals. If there’s no output, the internal breaker may be tripped (look for a reset button) or the transformer may have failed.
Lights dim or flicker: This usually indicates voltage drop from undersized wire or a run that’s too long. Measure voltage at the farthest fixture, if it’s below 10.8V, either shorten the run, increase wire gauge to 10 AWG, switch to a higher voltage tap, or split the circuit into two separate runs.
Transformer hums or buzzes: Some hum is normal, especially with laminated core transformers under full load. Excessive noise suggests a loose mounting (the vibration amplifies against the wall) or a failing core. Tighten all mounting screws and verify the transformer isn’t overloaded.
Breaker trips repeatedly: Disconnect all fixtures and power on the transformer. If the breaker holds, reconnect fixtures one zone at a time to isolate the short. Common culprits include damaged wire insulation from a shovel strike or a fixture with water intrusion. If the breaker trips with nothing connected, the transformer itself has an internal fault and needs replacement.
Timer won’t hold settings: Mechanical timers drift over time, replace them every 5-7 years. Digital timers with dead backup batteries lose programming during power outages: replace the battery (usually a CR2032 coin cell).
For voltage drop calculations and troubleshooting charts, most quality transformer manufacturers provide detailed guides either in the box or online. Keep these on hand, they’re invaluable when expanding the system later.
Conclusion
A properly sized and installed low voltage transformer delivers years of reliable service with minimal maintenance. Size it to 150% of total load, choose features that match how the lighting will be used, and don’t cut corners on wire gauge or burial depth. The upfront effort pays off in consistent performance, fewer service calls, and outdoor lighting that actually enhances the property instead of becoming a frustration.