
Bubble pendant lighting has surged in popularity among homeowners looking to blend modern aesthetics with functional illumination. These fixtures, featuring spherical glass shades that resemble suspended bubbles, offer visual interest and diffused light that works in everything from minimalist kitchens to eclectic dining rooms. Unlike flush-mount or recessed options, bubble pendants hang from the ceiling on adjustable cords or rods, making them statement pieces that draw the eye upward while providing task or ambient lighting. They’re not just decorative: properly chosen and installed, they deliver layered illumination that enhances both mood and usability. This guide walks through what bubble pendant lights are, why they work, how to select the right style, and how to install them without calling an electrician, assuming the homeowner has basic electrical skills and adheres to local code.
Table of Contents
ToggleKey Takeaways
- Bubble pendant lighting combines mid-century design with modern functionality, offering diffused light and visual interest through spherical glass shades in clear, frosted, seeded, or colored options.
- These fixtures work across multiple spaces—from kitchen islands and dining rooms to bedrooms and entryways—when properly sized using the room-dimension formula and positioned at appropriate heights for task and ambient lighting.
- Bubble pendants use standard E26 sockets compatible with LED bulbs (800–1,100 lumens), making them energy-efficient and easy to customize with adjustable cord lengths and dimmable options.
- Installation requires basic electrical skills: turning off power, connecting wires (black to black, white to white, ground to ground), adjusting cord length, and securing the canopy—or hiring a licensed electrician for $75–$150.
- Design versatility makes bubble pendant lighting ideal for open-concept spaces since the transparent or translucent shades feel airy, reduce glare, and coordinate with brushed nickel, matte black, brass, or chrome finishes.
- Regular maintenance—wiping glass with cleaner every few months and checking electrical connections annually—keeps bubble pendants safe and extends LED bulb life beyond 15,000–25,000 hours.
What Is Bubble Pendant Lighting?
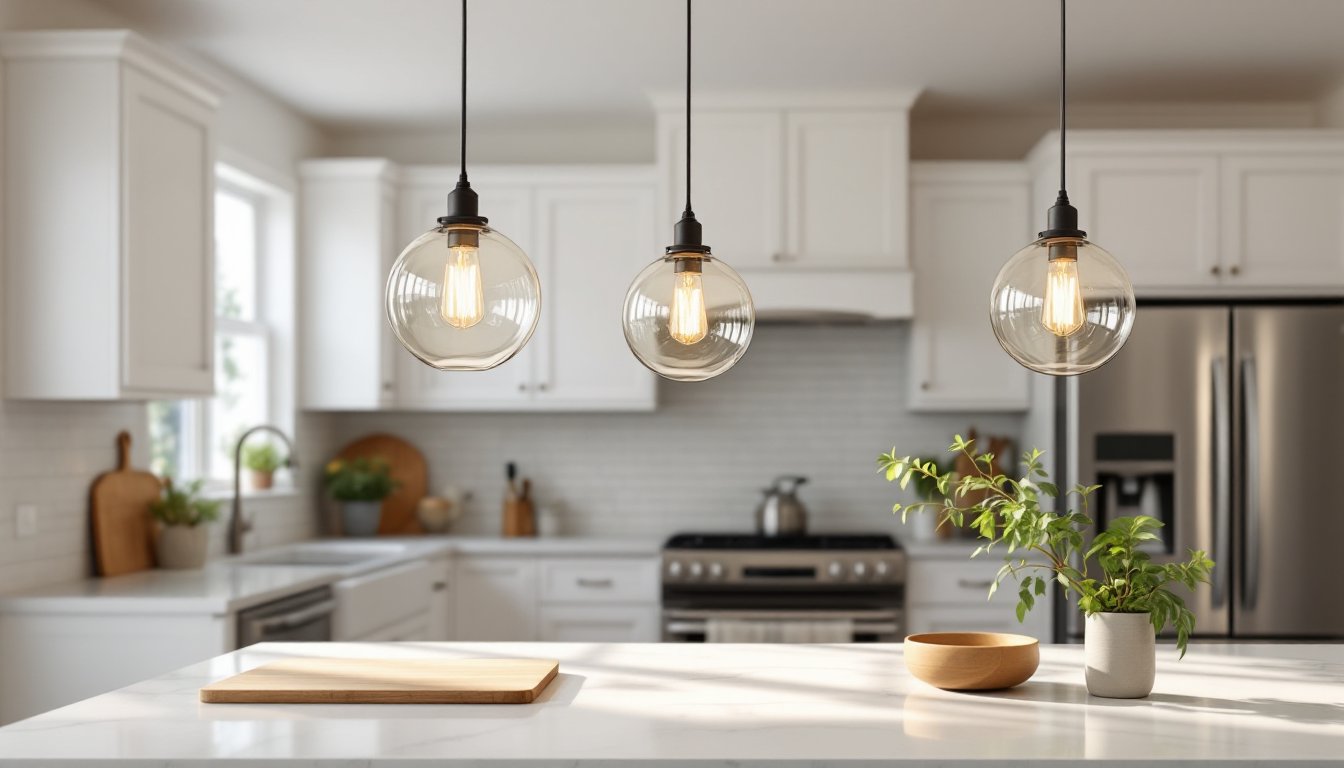
A bubble pendant light consists of one or more spherical or near-spherical glass shades suspended from a ceiling canopy by a cord, chain, or rigid rod. The glass is typically clear, frosted, seeded, or colored, and the bulb sits inside the bubble, creating a diffused glow that mimics the soft luminescence of a soap bubble catching light.
These fixtures originated in mid-century modern design but have evolved to include contemporary, industrial, and transitional variations. The shade diameter typically ranges from 4 inches to 12 inches for single pendants, though multi-bubble clusters can span 24 inches or more in overall width.
Most bubble pendants use standard E26 medium-base sockets, compatible with LED, incandescent, or CFL bulbs. LED bulbs are the go-to for energy efficiency and longevity, expect 800 to 1,100 lumens (equivalent to a 60W incandescent) for general ambient lighting. For dimmable fixtures, verify that both the fixture and bulb support dimming to avoid flicker or buzz.
The canopy, the ceiling-mounted hardware that houses the electrical connections, is usually 4 to 5 inches in diameter and finishes in brushed nickel, matte black, brass, or chrome to match the pendant’s hardware. Adjustable cord lengths allow installers to customize drop height, critical for rooms with varying ceiling heights or furniture placement.
Why Choose Bubble Pendant Lights for Your Home
Bubble pendants deliver three core benefits: visual lightness, flexible illumination, and design versatility.
First, the transparent or translucent glass shades feel airy and open, unlike opaque metal or fabric fixtures that can visually weigh down a room. This makes them ideal for spaces where the homeowner wants ambient light without heavy visual mass, think open-concept living areas or rooms with low ceilings.
Second, the diffused light from a bubble shade reduces harsh shadows and glare, creating a softer ambiance than bare-bulb or directional fixtures. This works well over dining tables, kitchen islands, or reading nooks where task lighting needs to be functional but not clinical.
Third, bubble pendants span multiple design styles. A clear glass bubble with brass hardware leans traditional or transitional, while a smoked glass sphere with matte black fittings skews industrial-modern. Homeowners can swap bulbs, Edison-style filament LEDs for vintage warmth, or daylight LEDs for crisp task lighting, without changing the fixture.
From a practical standpoint, bubble pendants are easier to clean than fabric shades (wipe with glass cleaner) and less prone to dust accumulation than open caged designs. They also provide better bug protection in semi-outdoor spaces like covered porches, since the bulb is enclosed.
Popular Styles and Design Variations
Bubble pendant lights come in several configurations, each suited to different spaces and aesthetic goals.
Clear glass bubbles are the classic choice, offering maximum light transmission and a clean, modern look. They showcase decorative bulbs well and work in Scandinavian, mid-century, or contemporary interiors.
Frosted or etched glass diffuses light more evenly, hiding the bulb filament and reducing glare. This is the better pick for low-hanging fixtures over dining tables or bedside pendants where direct line-of-sight to the bulb is common.
Seeded or textured glass adds visual interest through bubbles, ripples, or dimpling in the glass itself. These catch and refract light, creating subtle patterns on surrounding surfaces. They pair well with farmhouse, coastal, or transitional styles.
Colored glass, amber, smoke, cobalt, or blush, introduces warmth or drama. Amber and smoke tint the light output, creating a warmer color temperature regardless of bulb choice. This works for mood lighting but can reduce effective task illumination.
Single Bubble vs. Multi-Bubble Clusters
A single bubble pendant works as a focused task light or accent fixture. Typical applications include over a small dining table, in a powder room, or flanking a kitchen island in pairs. Hang height is usually 30 to 36 inches above the table surface or 72 to 78 inches above finished floor for open areas.
Multi-bubble clusters group two to seven (or more) bubbles on a shared canopy, often at staggered heights. These create a sculptural focal point and provide more lumens across a wider area. They’re ideal for large dining tables, entryway foyers with high ceilings, or over kitchen islands 60 inches or longer. Installation is more complex since the homeowner must balance the fixture and manage multiple cords without tangling.
Best Rooms and Spaces for Bubble Pendant Lighting
Bubble pendants excel in spaces where ambient and task lighting overlap.
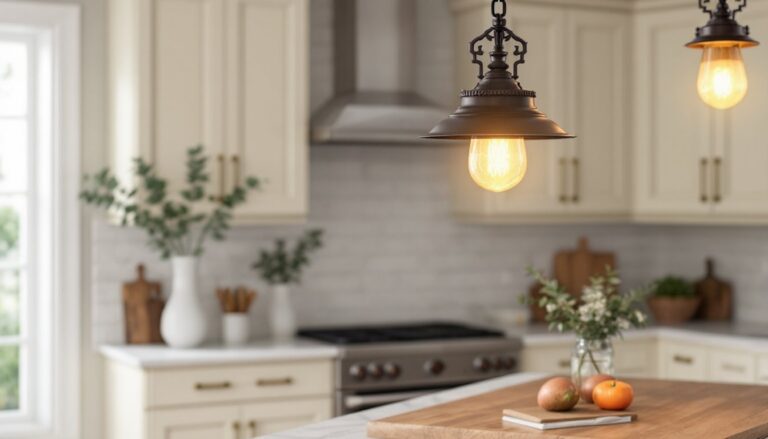
Kitchen islands: Hang two or three single bubbles spaced 24 to 30 inches apart along the island’s length. This provides even task lighting for prep work while maintaining visual openness. Use dimmable LEDs for flexibility between cooking and entertaining modes.
Dining rooms: A single large bubble (10 to 12 inches in diameter) or a multi-bubble cluster works over round or rectangular tables. The fixture should be centered and sized so it’s roughly one-half to two-thirds the table width. For an 8-foot table, aim for a fixture spread of 32 to 48 inches.
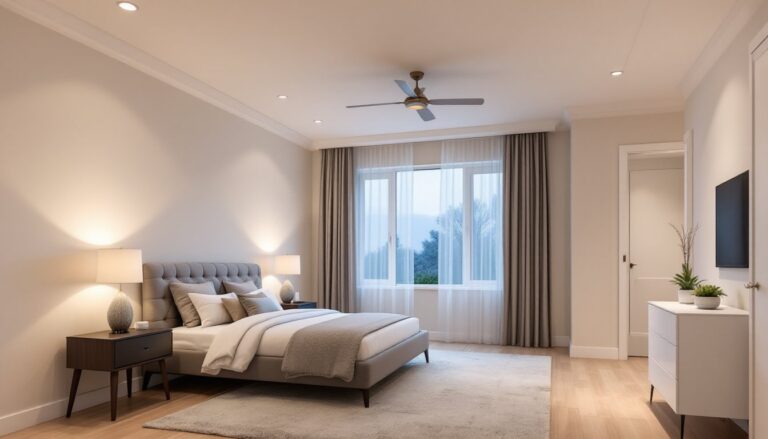
Bedrooms: Small bubble pendants (6 to 8 inches) can replace traditional bedside lamps, freeing up nightstand space. Mount them 18 to 24 inches from the side of the bed, with the bottom of the shade at 24 to 30 inches above the mattress top. Use warm-white LEDs (2700K) for a relaxing ambiance.
Bathrooms: A single bubble pendant over a freestanding tub or a pair flanking a mirror adds functional light with a spa-like feel. Ensure the fixture is rated for damp or wet locations per NEC standards if installed within 3 feet of a tub or shower (zone requirements vary by jurisdiction).
Entryways and foyers: A multi-bubble cluster fills vertical space in two-story foyers without overwhelming narrow floor plans. Make sure the lowest bubble clears 80 inches above the floor to avoid head strikes.
How to Choose the Right Bubble Pendant Light
Selecting the right fixture comes down to size, scale, light output, and finish compatibility.
Sizing: Use the rule of thumb for chandeliers and pendants: add the room’s length and width in feet, then convert to inches for the fixture’s diameter or spread. A 12-foot by 14-foot dining room suggests a fixture around 26 inches wide. For kitchen islands, each pendant should be one-third to one-half the island width if using a single fixture, or sized proportionally if using multiples.
Light output: Calculate lumens based on the room’s square footage and function. General living spaces need 20 lumens per square foot: kitchens and task areas need 50 to 70. A 10-by-10-foot kitchen requires 5,000 to 7,000 lumens total, so three pendants with 1,000-lumen bulbs each would contribute meaningfully to overall illumination but likely need supplemental recessed or under-cabinet lighting.
Adjustability: Look for fixtures with adjustable cord lengths or swag kits that let the homeowner customize the drop. Standard cords are 72 to 120 inches, but vaulted or high ceilings may need longer runs or rigid downrods.
Finish matching: Coordinate the pendant’s metal finish with existing hardware, cabinet pulls, faucets, door handles. Brushed nickel and matte black are neutral and forgiving: polished brass and oil-rubbed bronze make stronger style statements and should match other dominant finishes in the room.
Dimming capability: If the homeowner wants adjustable ambiance, confirm the fixture supports dimmer switches and choose dimmable LED bulbs. Install a compatible LED dimmer (not an old incandescent dimmer) to prevent flicker.
Installation and Maintenance Tips
Installing a bubble pendant is a straightforward electrical project for a homeowner comfortable working with wiring. Always turn off power at the breaker and verify with a non-contact voltage tester before touching any wires.
Tools and materials:
- Non-contact voltage tester
- Wire strippers
- Screwdriver (flathead and Phillips)
- Ladder or step stool
- Wire nuts (usually included)
- Electrical tape
- Safety glasses and gloves
Steps:
- Remove the old fixture. Unscrew the canopy, disconnect wire nuts, and lower the fixture. Note the existing wiring: typically a black (hot), white (neutral), and bare or green (ground).
- Assemble the new pendant. Thread the cord through the canopy and attach the mounting bracket to the electrical box using the provided screws. If the box is loose or plastic, consider upgrading to a metal pancake box rated for the fixture’s weight (most bubble pendants weigh 2 to 8 pounds).
- Adjust the cord length. Most fixtures have a cord lock or set screw inside the canopy. Measure the desired drop, add a few inches for wire connections, and lock the cord. Excess cord can be coiled inside the canopy if there’s room.
- Connect the wires. Match black to black, white to white, and ground to ground. Twist the bare ends together clockwise, secure with a wire nut, and wrap the base with electrical tape for extra security.
- Mount the canopy. Tuck the wires into the box, press the canopy flush to the ceiling, and tighten the mounting screws. Install the bulb and glass shade.
- Restore power and test. Flip the breaker, turn on the switch, and check for proper operation. If using a dimmer, test the full range.
Maintenance:
Clean glass shades every few months with glass cleaner and a microfiber cloth. For seeded or textured glass, a soft brush removes dust from crevices. Replace LED bulbs as they dim (typically after 15,000 to 25,000 hours).
Check cord and canopy connections annually if the fixture sees heavy use or in homes with frequent power surges. Tighten any loose mounting screws to prevent wobble or electrical arcing.
If the homeowner is uncomfortable with electrical work or if the existing box isn’t rated for the fixture weight, hire a licensed electrician. Most charge $75 to $150 per fixture for installation, a small price for safety and code compliance.